Velvet v3 – UI Edition
Table of Contents

Velvet v3 - Ultimate Interface Edition is a keyboard that reduces the need to move your hand to a minimum with a keywell layout and a trackball under your thumb. The curved key placement makes moving your fingers between rows of keys noticeably easier, and the functional trackball, easily accessible under your thumb, nearly eliminates the need to move your hand to the mouse.
Cursor Control
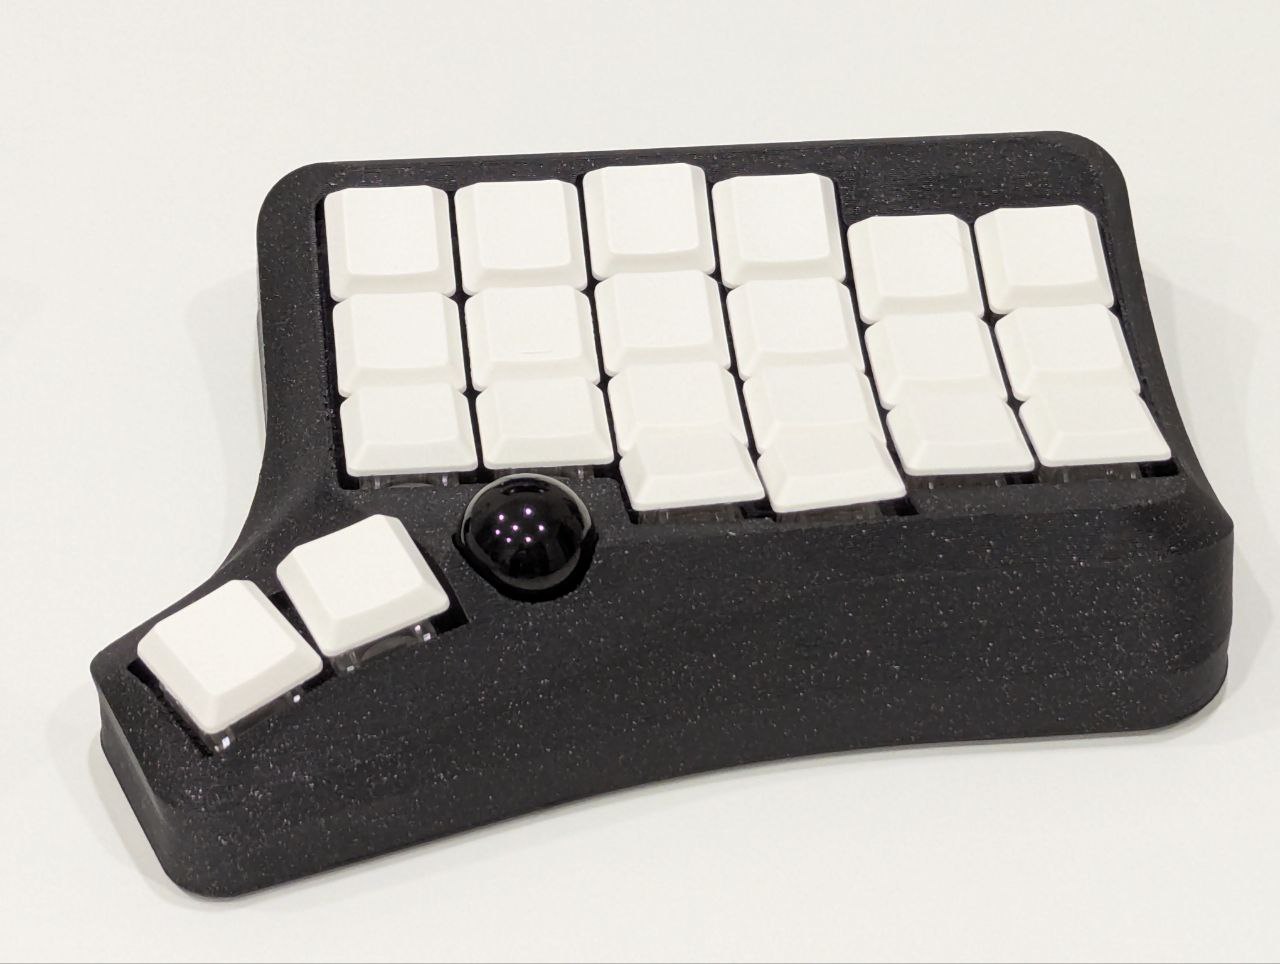
The main feature of Velvet UI is a built-in trackball located under the thumb. Rotating the trackball moves the mouse cursor and temporarily activates a special layer with mouse keys.
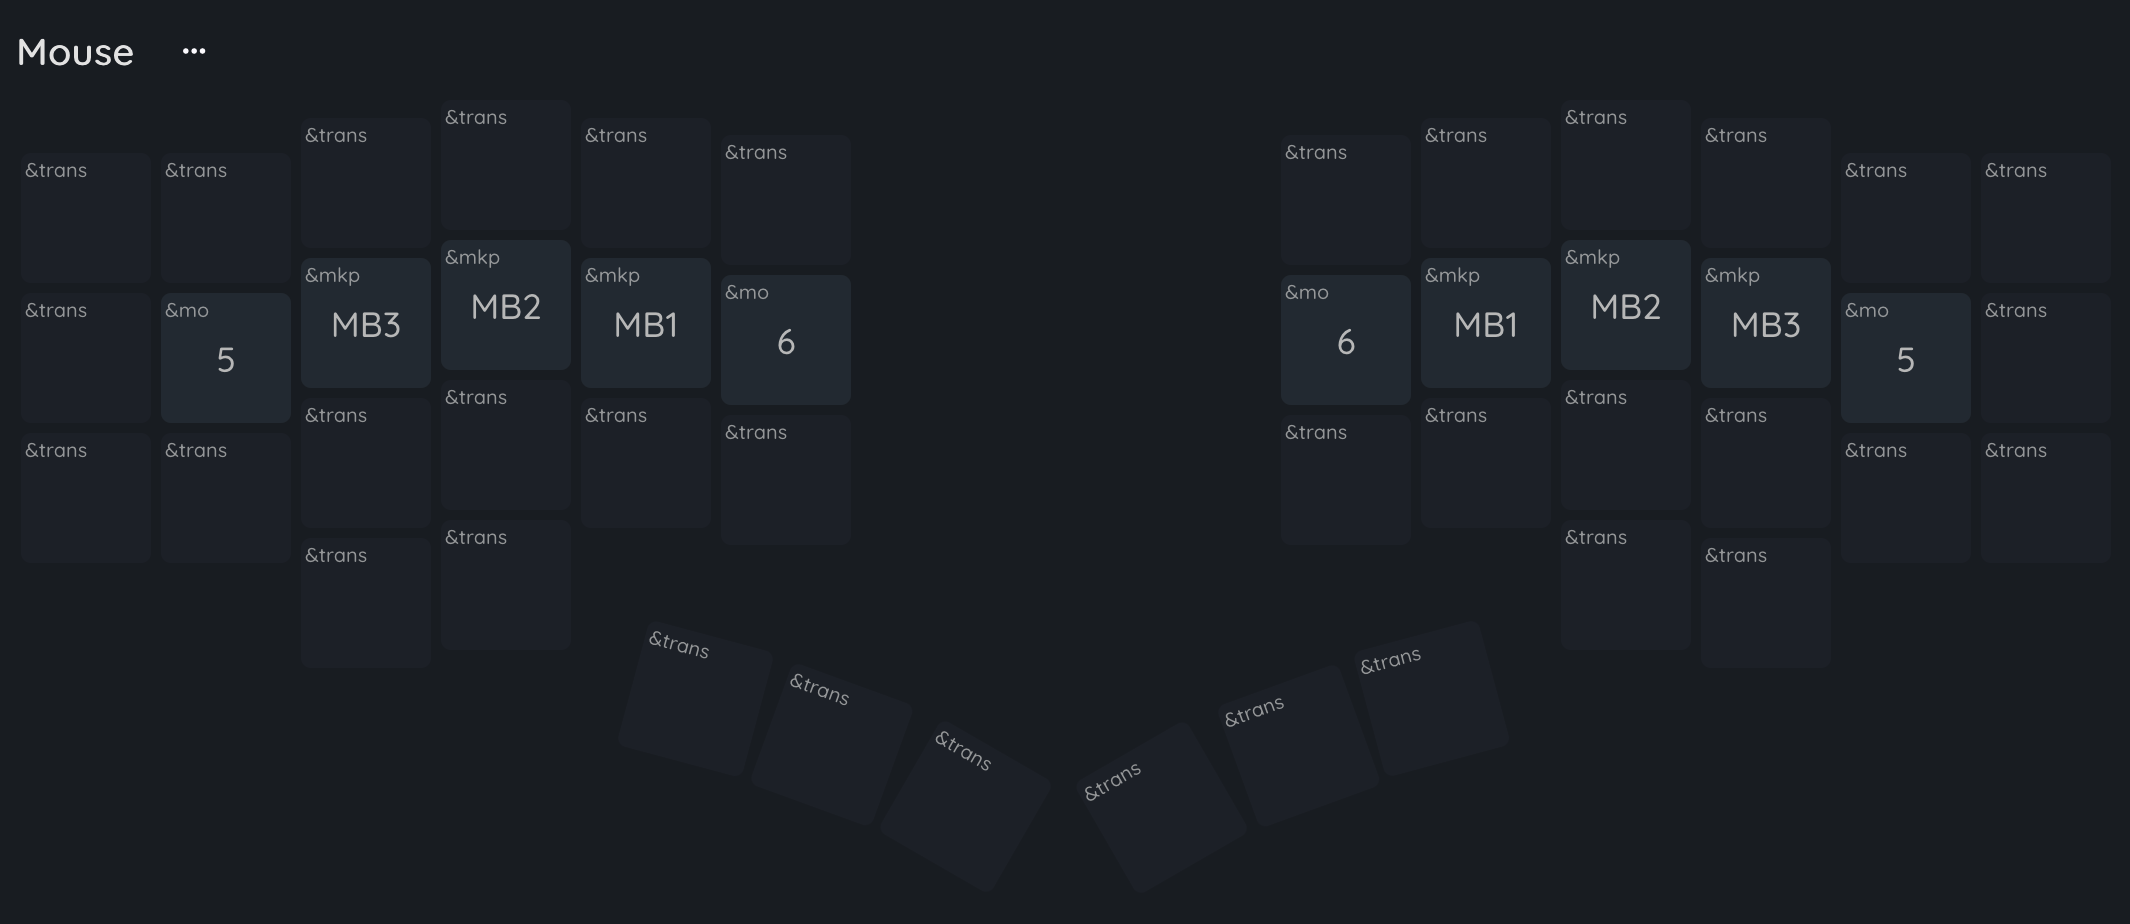
The mouse layer contains keys for cursor control: left mouse button (MB1), right mouse button (MB2), middle mouse click (MB3), as well as switching to Scroll mode (&mo 5) and Sniper mode (&mo 6). The mouse layer is activated when moving the cursor with the trackball, and if the trackball remains stationary for 500 milliseconds, the layer will automatically turn off.
Sniper mode reduces the speed of the cursor movement, allowing you to aim it more accurately.
Mode switching
Scroll and Sniper modes are activated on the configured layers, by default 5 and 6 respectively, and if you want to use these layers for some other purpose, you can move the activation of these modes to any other layer. See Scroll Mode Settings and Sniper Mode Settings on how to change the layer numbers for the modes.
In the default layout, modes are switched using the &mo behavior, but you can switch modes using any other behavior that activates layers. If you don’t want to keep the scroll mode button pressed, you can use the &tog 5 behavior to activate the mode, then a single tap will activate layer 5 along with the scroll mode, and a second tap will deactivate layer 5 and the scroll mode.
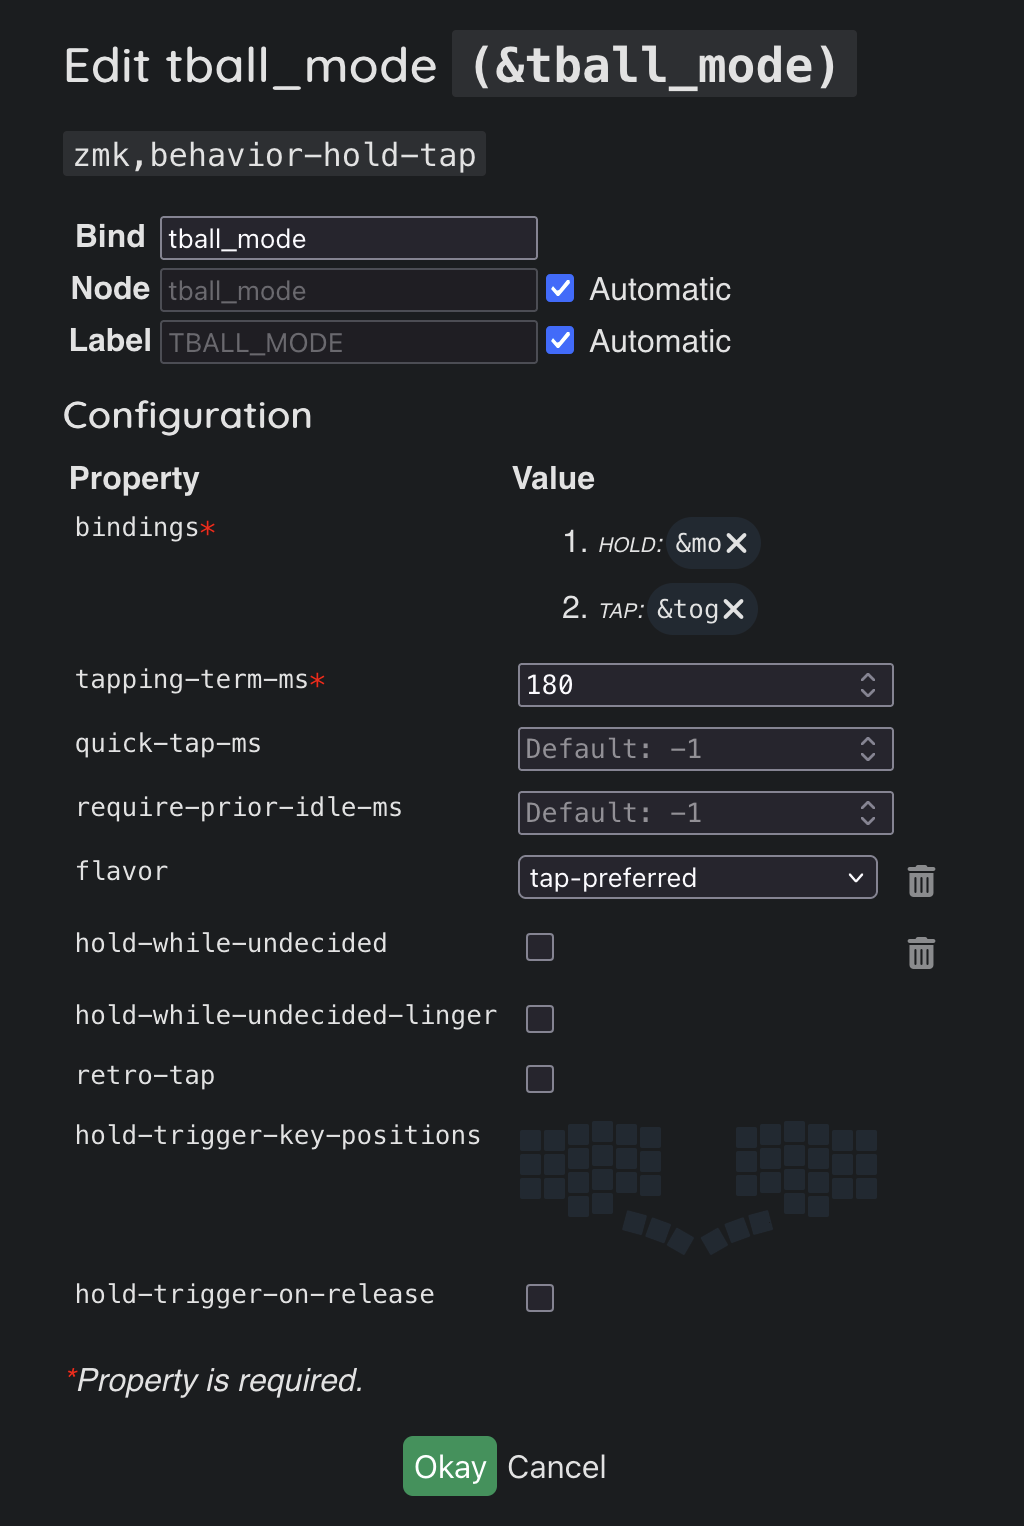
You can also make a hybrid custom behavior that when held will turn on the layer with the &mo behavior, and when tapped will toggle it with the &tog behavior.
Trackball configuration
All trackball modes, including the automatic switching to the mouse layer, can be configured in the config/velvet_v3_ui.keymap file, this can be done quickly and conveniently in the GitHub web-interface by clicking Edit this file.
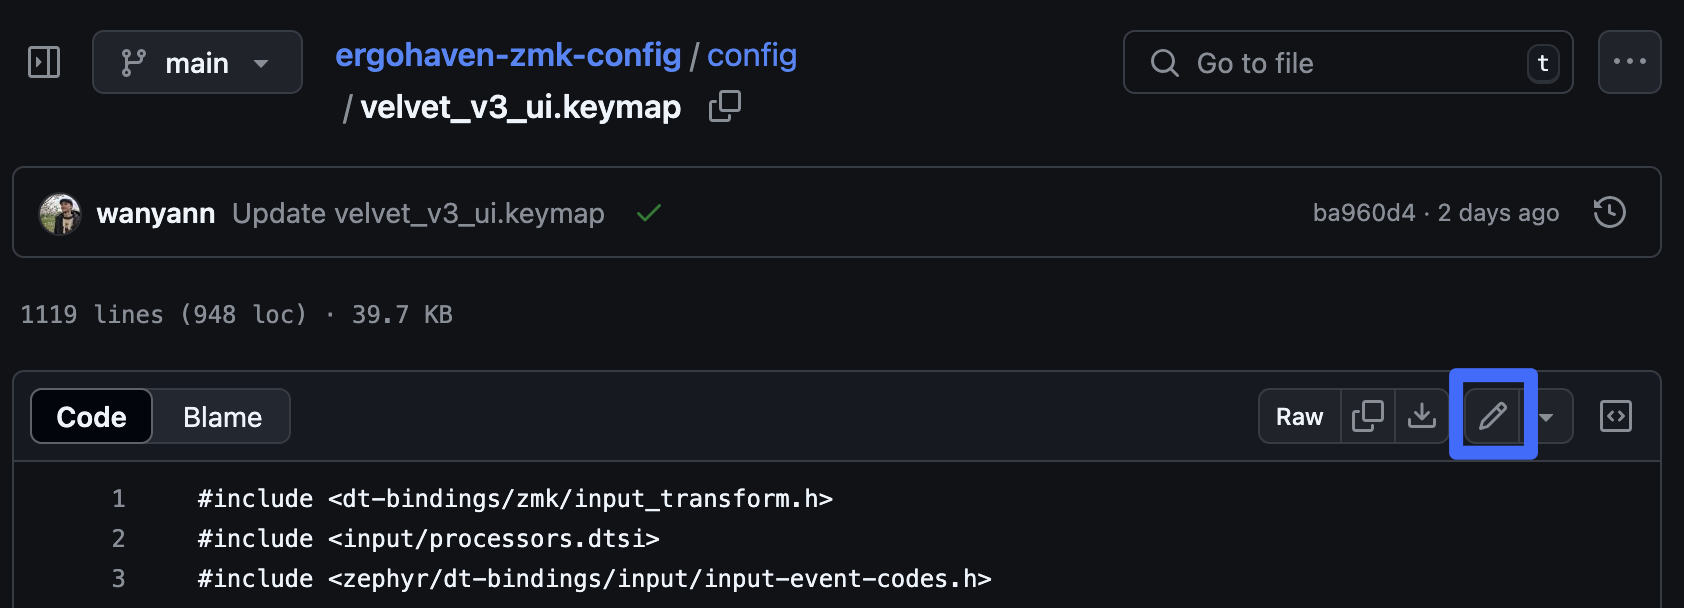
Open the file in your fork and scroll to the very bottom, looking for lines:
&trackball { cpi = <1000>; };

&trackball_listener {
    input-processors = <&zip_xy_scaler 9 20>;

    scroller {
        layers = <5>;
        input-processors =
            <&zip_xy_transform INPUT_TRANSFORM_Y_INVERT>,
            <&zip_xy_scaler 1 32>,
            <&zip_xy_to_scroll_mapper>;
    };

    sniper {
        layers = <6>;
        input-processors = <&zip_xy_scaler 1 4>;
    };
};
Let’s take a look at all the available settings.
Cursor sensitivity in normal mode
You can change the cursor sensitivity in normal mode in the line &trackball { cpi = <1000>; };, the value of cpi is set in increments of 200, and should not be greater than 3200.
In addition to the cpi parameter, a multiplier <&zip_xy_scaler 9 20> is also applied, which means that the final sensitivity will be 9 / 20 * cpi. This value can also be changed.
&trackball_listener {
    input-processors = <&zip_xy_scaler 9 20>;
You can read more about the available input-processors in the ZMK documentation: https://zmk.dev/docs/keymaps/input-processors
Configuring Mouse Layer Activation
The <&zip_auto_mouse 4 500> fragment handles the automatic activation of the mouse layer. Let’s review the available settings:
- 4 - the number of the layer to be automatically activated. If you change the keymap and the mouse layer gets a different number, simply update this value;
- 500 - the duration for which the mouse layer remains active.
If you want to disable the automatic mouse layer activation, simply remove the <&zip_auto_mouse 4 500> fragment.
To prevent accidental mouse layer activations during typing, the layer will not activate for 800 milliseconds after any key press. This delay can also be configured in the fragment located higher in the config/velvet_v3_ui.keymap file:
    zip_auto_mouse: zip_auto_mouse {
        compatible = "zmk,input-processor-temp-layer";
        #input-processor-cells = <2>;
        require-prior-idle-ms = <800>;
        excluded-positions = <>;
    };
If you want to increase or decrease this threshold, edit the require-prior-idle-ms value.
For more information about automatic mouse layer settings, please refer to the ZMK documentation.
Scroll mode settings
The following settings are available for the scroll mode:
scroller {
        layers = <5>;
        input-processors =
            <&zip_xy_transform INPUT_TRANSFORM_Y_INVERT>,
            <&zip_xy_scaler 1 32>,
            <&zip_xy_to_scroll_mapper>;
    };
layers = <5>; - layers on which the scroll mode will be active. After changing the layer number, you should also change the behavior that switches to the the scroll mode layer.
<&zip_xy_transform INPUT_TRANSFORM_Y_INVERT> - scrolling inversion, you can invert both Y and X axis (<&zip_xy_transform INPUT_TRANSFORM_X_INVERT>), or even invert both axes, listing the parameters in commas: <&zip_xy_transform INPUT_TRANSFORM_Y_INVERT>, <&zip_xy_transform INPUT_TRANSFORM_X_INVERT>,.
<&zip_xy_scaler 1 32> - the scrolling speed is set as a ratio, the default speed is 1 / 32 * cpi. You can both slow down scrolling by changing the value, for example, to <&zip_xy_scaler 1 64>, and speed up scrolling <&zip_xy_scaler 2 32>.
Sniper mode settings
The following settings are available for sniper mode:
sniper {
        layers = <6>;
        input-processors = <&zip_xy_scaler 1 4>;
    };
layers = <6>; - layers on which the sniper mode will be active. After changing the layer number, you should also change the behavior that switches to the the sniper mode layer.
<&zip_xy_scaler 1 4> - speed multiplier for sniper mode. By default, in sniper mode the trackball speed is 1 / 4 * cpi. You can both slow down scrolling by changing the value, for example, to <&zip_xy_scaler 1 8>, and speed up cursor <&zip_xy_scaler 2 4>.