Guide to Setting Up and Flashing Your Keyboard with Ergohaven's Qube
Table of Contents
In this guide, we will thoroughly break down the process of fully setting up and flashing an Ergohaven split keyboard using the Qube dongle. You will learn how to prepare the files, perform a full reset, and correctly flash all components for stable operation.
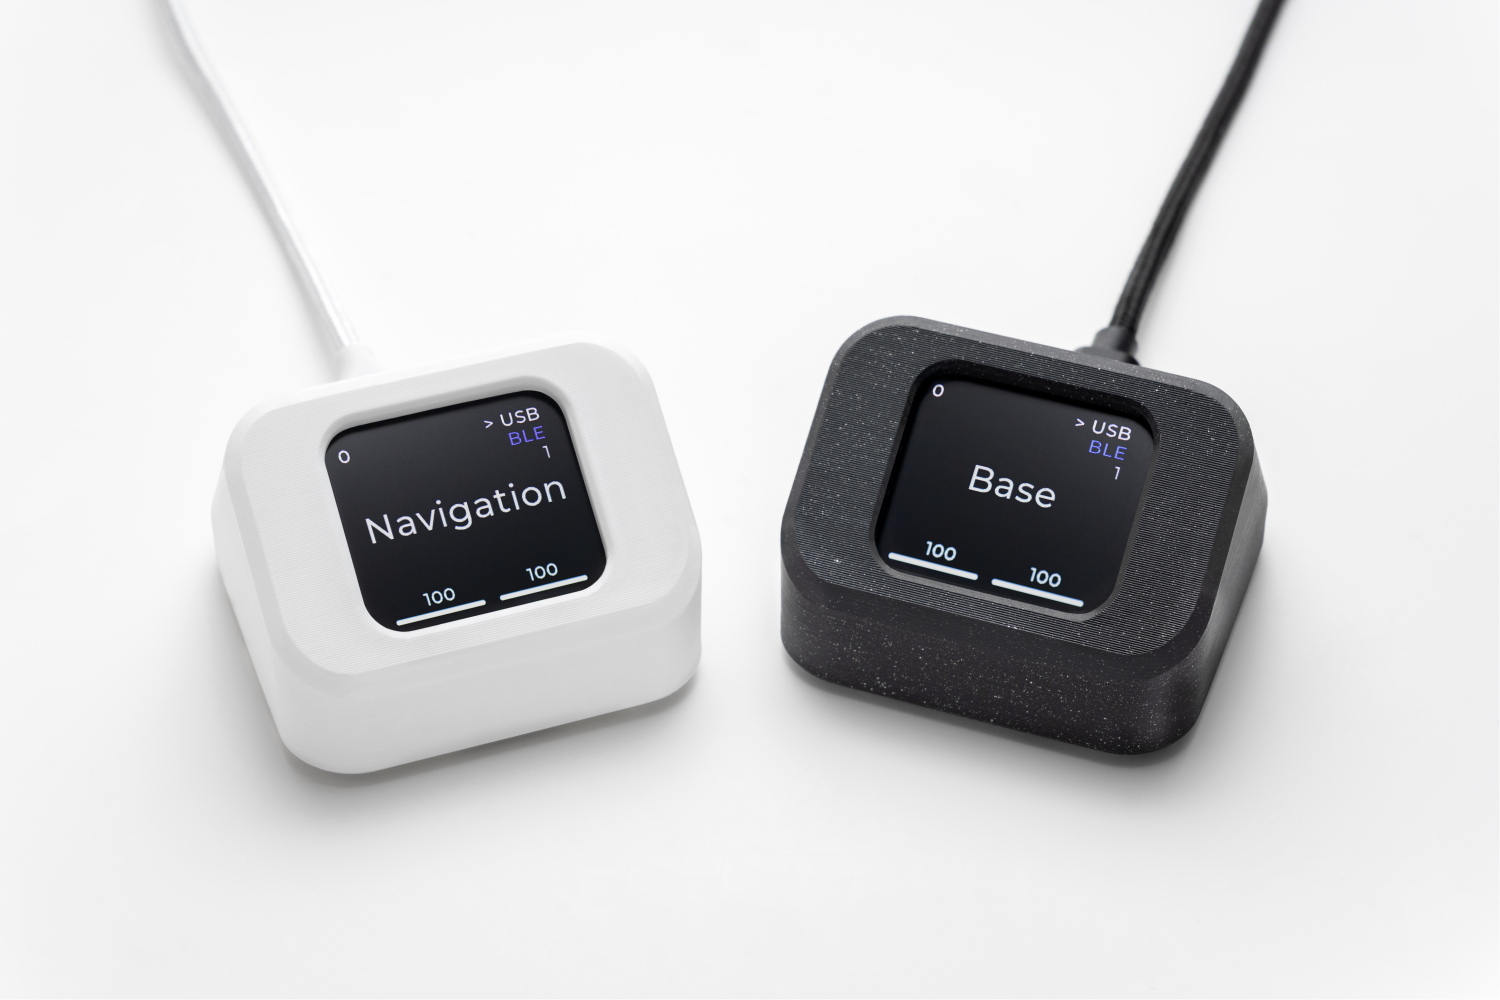
Ergohaven’s Qube - universal device is designed to be an essential companion for wireless keyboards. It works as a dongle and displays useful information.
Step 1: Preparing the firmware
Before you begin, you need to obtain the latest firmware files. The firmware file is essentially the “brain” of your keyboard, which determines how it works.
If you have a fork (copy) of the repository on GitHub: Synchronize your fork with the main ZMK repository to get the latest updates. After that, build (compile) the firmware and download the resulting
*.uf2files: one for the left and right halves, and one for the Qube dongle.If you don’t have your own fork: Download the ready-made standard firmware from the ergohaven/keymap_hub repository. You will also need three
.uf2files.
Additionally, you will need a reset firmware (settings_reset-ergohaven-zmk.uf2). Usually, it can be found in the same place as the main firmware, or in our keymap_hub.

Step 2: Full reset
This step is necessary for a “clean” installation and to avoid conflicts between the old and new firmware. We will sequentially install the reset firmware on all three devices.
- Turn off the power on both halves of the keyboard. Use the physical switches on the bottom of the case for this.
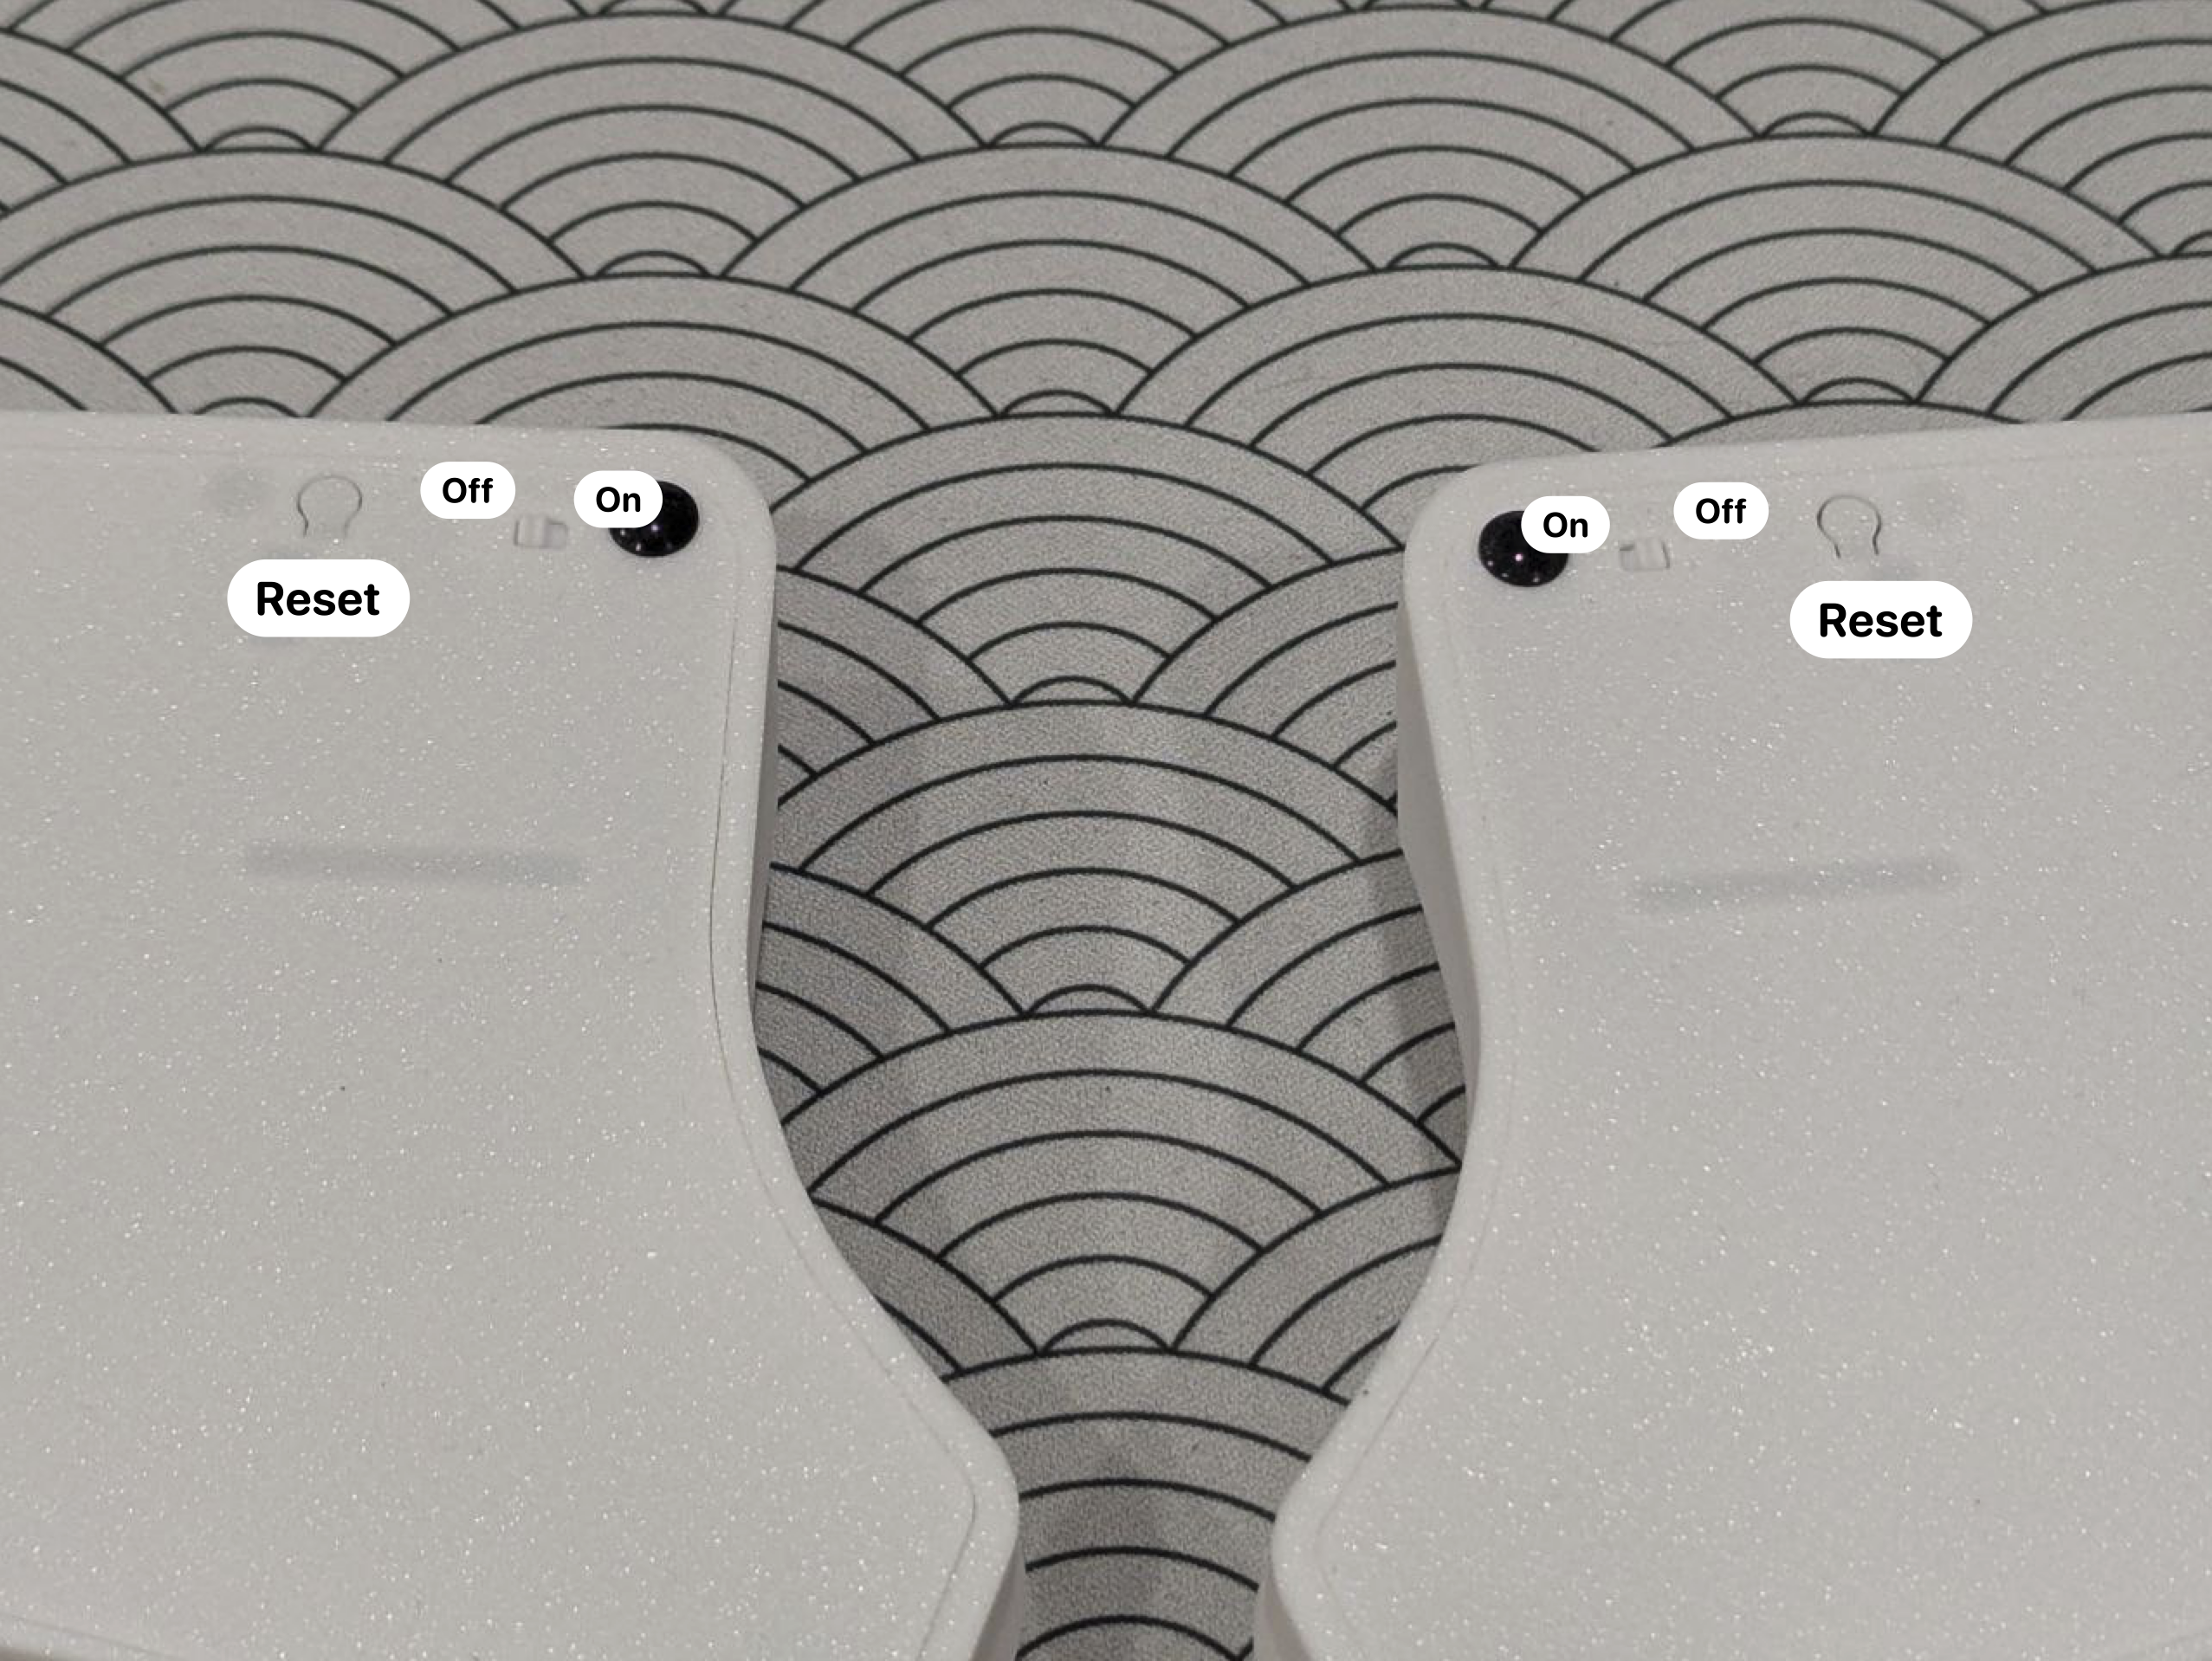
- Flash the Reset firmware. Connect each of the three devices (left half, right half, Qube) to the computer one by one. After connecting, quickly double-press the Reset button on the back of the device to put it into bootloader mode. The device will appear in the system as a removable USB drive. Drag and drop the Reset firmware file (
settings_reset-ergohaven-zmk.uf2) onto this drive. After copying, the device will automatically reboot.
It is normal to see a warning about a file transfer error or an improper device ejection after copying the firmware. The file has been transferred successfully, but the drive disconnects before the operating system can register the completion of the transfer.
Step 3: Flashing
Now that all devices are reset, you can install the main firmware. The order here is important!
- Flash Qube. Connect the dongle to the computer, put it into bootloader mode, and copy the corresponding firmware file (
op36_qube-ergohaven-zmk.uf2or similar) to it. - Disconnect Qube from the computer.
- Flash the left half. Connect the left half of the keyboard, put it into bootloader mode, and copy the firmware file for the left side (
op36_left_qube-ergohaven-zmk.uf2) to it.
To flash the left half, exclusively use the firmware file named
left_qube-ergohaven-zmk.uf2. The exception is the Velvet UI, which usesui_left-ergohaven-zmk.uf2for the left half andui_right_qube-ergohaven-zmk.uf2for the right half.
- Disconnect the left half from the computer.
- Flash the right half. Connect the right half, put it into bootloader mode, and copy its firmware file (
op36_right-ergohaven-zmk.uf2) to it.
Step 4: First power-up and synchronization
All components are flashed. Now they have to be started correctly.
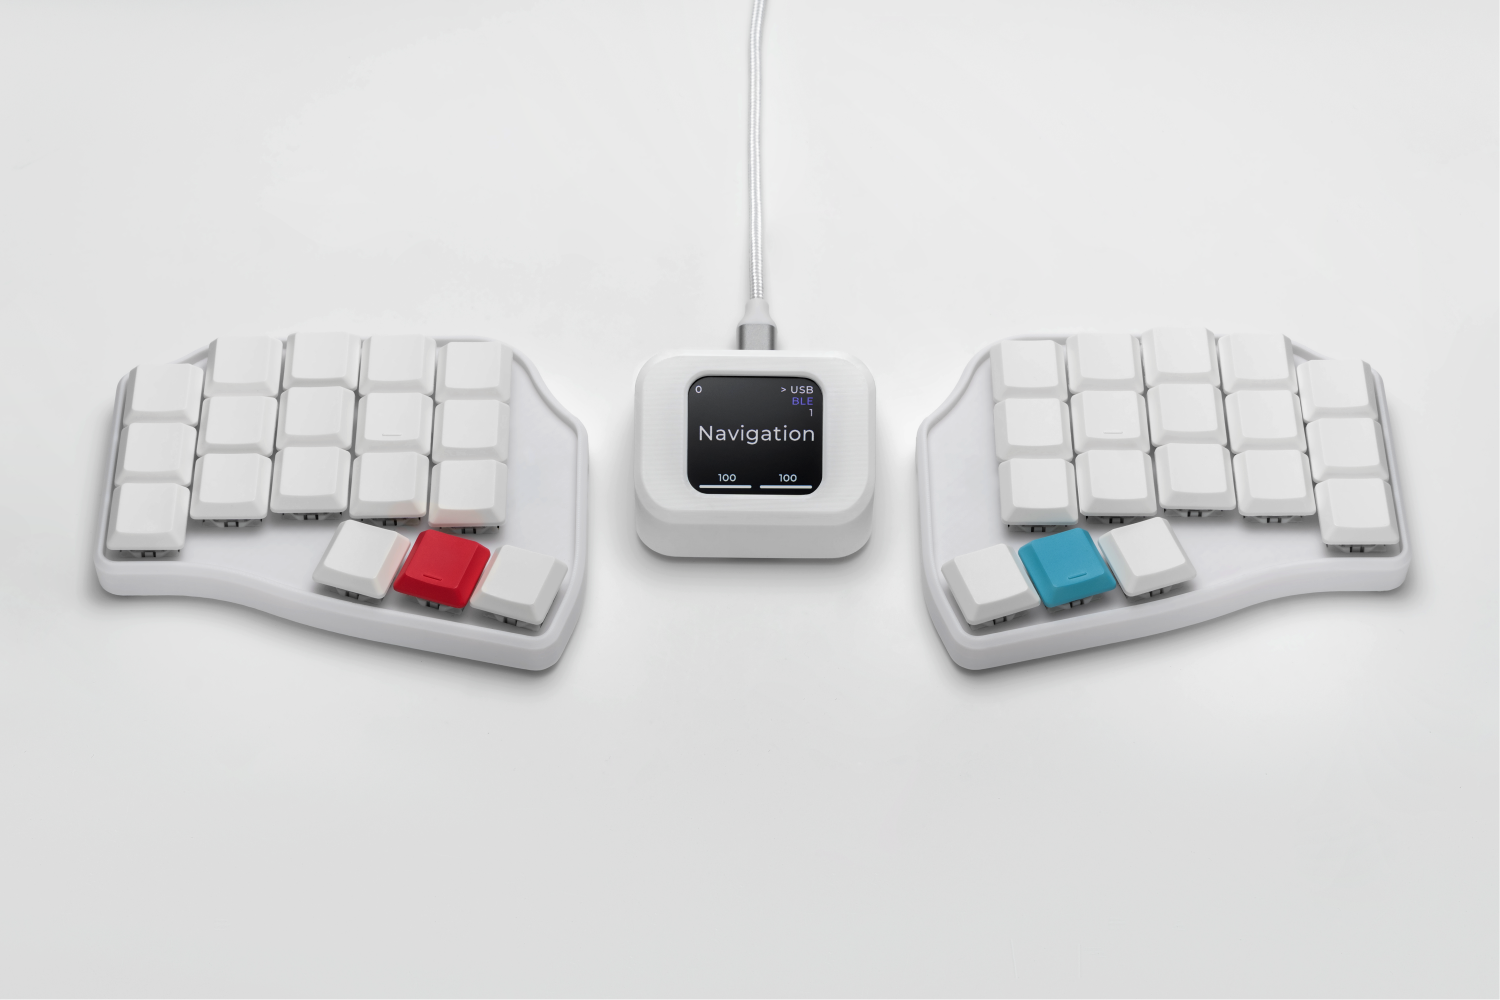
- Using a Type-C cable, connect Ergohaven’s Qube to the PC. It will act as a receiver.
- Turn on the power on the left half of the keyboard. It should automatically connect to Qube.
- Turn on the power on the right half. It will connect to the Qube, completing the setup.
Wait a few seconds. Try typing something. If everything is done correctly, your keyboard is ready to use!
If nothing happens, press the reset button on Qube once.
How to update the layout in the future?
This is one of the main advantages of using Ergohaven’s Qube. All the keyboard layout logic is stored in it.
If you have changed your layout (swapped keys, added a macro) and built a new firmware, you do not need to re-flash the halves of the keyboard. It is enough to re-flash only the dongle! Just connect it to the computer, put it into bootloader mode, and copy the new firmware file to it. This makes the update process quick and convenient.
Congratulations! Your keyboard is ready to use.